 |
Tutorial: Album cover
Stage 1.
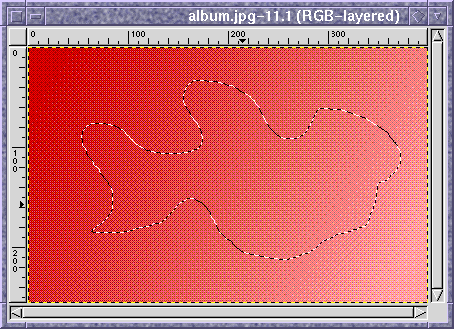
Start with a basic linear gradient, and cut-n-paste it off the
Background layer onto a new layer. Now draw a random selection:

Stage 2.
Add a layer mask, and setup a shapeburst gradient from black to white.
Making sure the layer mask is selected as the current drawable, use
the gradient tool to put the shapeburst onto the layer mask.
|
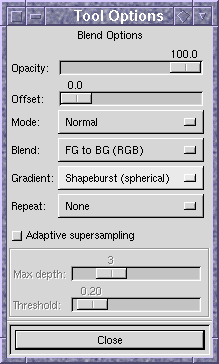
The gradient tool option dialog can be brought up by double-clicking
on the gradient tool icon in the toolbox. You should select the
"Shapeburst (spherical)" option.
|
 |
 |
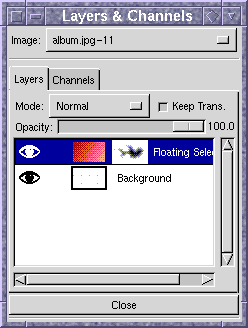
The "Layers & Channels" dialog box should look a little like this.
Note the dark shape in the top layer's mask. Newer versions of the
Gimp have a slightly different set of buttons at the bottom of the
dialog box.
|
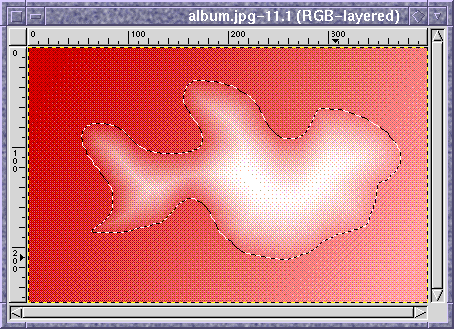
This is what you should end up with:

Stage 3.
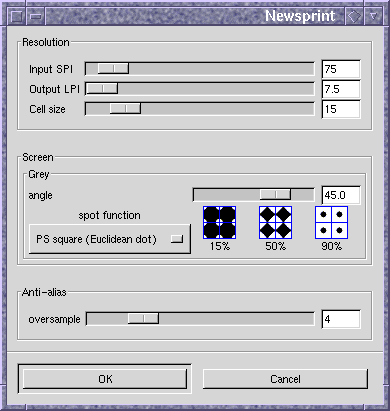
With the layer mask still selected, run the newsprint filter.
|
Here you get only one channel selector, since the layer mask is a
greyscale image. I've picked a fairly large cell size of 15, and a
Euclidean dot. In order to look smooth, I've also upped the
oversampling to 3. I haven't changed the screen angle, so it's still
at the 45° default.
|
 |
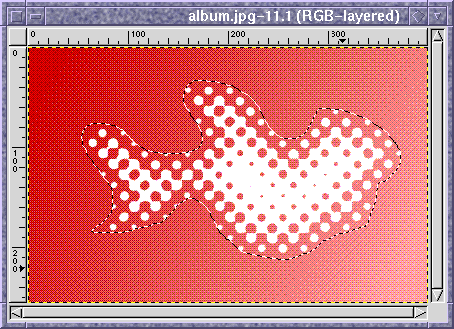
The result of running the filter is:

Stage 4.
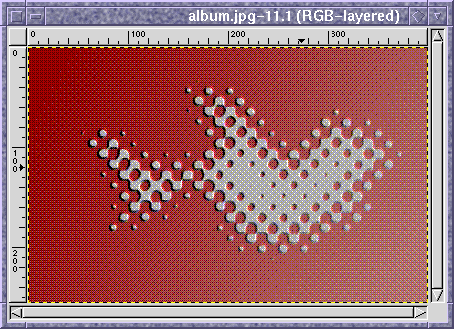
We're almost there now! The only thing left to do is emboss the whole
thing. Apply the layer mask and flatten the image. Remember to clear
the selection before running the <Image>/Distorts/Emboss filter.
The defaults are fine, but you should select Bumpmap rather than
Emboss in order to retain the colour.
And voila! One funky splotch logo:
 Once saved, it looks like this:
 Making the grey surface look like brushed aluminium is left as an
exercise for the reader.
(c) 1998 Austin Donnelly <Austin_Donnelly@yahoo.co.uk>
$Id: tut-album.html,v 1.4 2001/05/25 12:28:18 and1000 Exp $
|

